
Magnetic Flux Leakage (MFL)




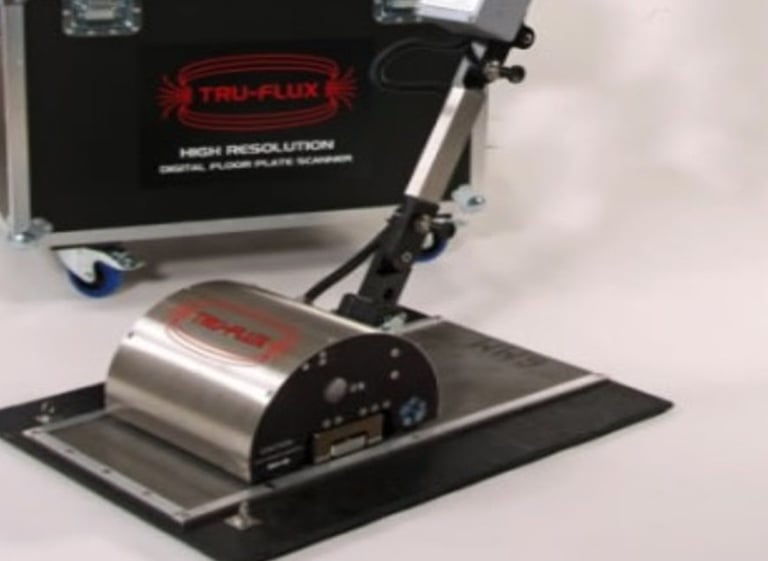
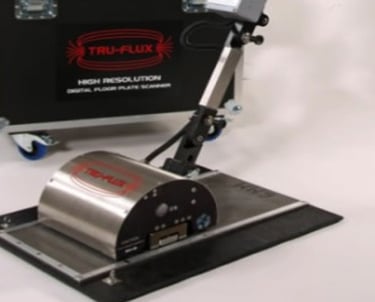
MFL Testing: The MFL equipment contains a permanent magnet that, when passing over the plate, induces a magnetic field into it, which fills or "saturates" its entire thickness.
The magnetic flux passing through the plate is read by sensors located at the bottom of the equipment. In the presence of corrosion, the magnetic flux "leaks" out of the plate.
The MFL sensors then detect this "flux leakage" and convert it into electrical pulses, which are processed and measured by the software.
The way these processes and measurements are performed by the software is based on the parameters entered during the calibration process, which is done using test plates with simulated defects of predetermined dimensions.
After this processing, by comparing with the data obtained during calibration, an Estimated Percentage of Volumetric Material Loss is presented in those regions where flux leakage was detected.
The MFL testing is not a quantitative test, but a qualitative one, which will provide estimated percentages of material loss in the ranges of 20%, 40%, 60%, and 80% in relation to the nominal thickness of the plate.
MFL Testing Standards
There is guidance in item 4.4.4 of the international API STANDARD 653, which mentions MFL as an accepted technique for tank floor inspections.
Additionally, reference information and parameters provided by the manufacturer are also used.
Materials and Thickness Ranges to be Inspected
Ferromagnetic metal plates ranging from 6mm to 12mm in thickness can be inspected. In the case of coated plates, the coating thickness cannot exceed 6mm.
In any case, the combined thickness of the coating and plate should not exceed 16mm.
Below is the relationship between the coating thickness and the plate thickness where the maximum accuracy in defect sizing is achieved:
Max. 6mm coating on a 6mm thick plate
Max. 5mm coating on an 8mm thick plate
Max. 3mm coating on a 10mm thick plate
Max. 1mm coating on a 12mm thick plate
Surface Condition of the Tank Floor Plate
The tank floor must be thoroughly cleaned to remove dirt, grease, oil, slag, scale, fluids, and any impurities or irregularities that could hinder the execution of the test.
Particularly, it is important to avoid small metal pieces becoming detached on the tank floor plates.
For preparing the surfaces to be inspected, manual or rotary steel brushes and also blasting (except iron shot) can be used.
The best results are achieved with hydro-blasting.
If there are waves or other irregularities on the tank floor that could affect the execution of the test, the operator can modify the scanning technique. In such cases, the use of Handscan (manual MFL) or ultrasound (point thickness measurement) is allowed.


