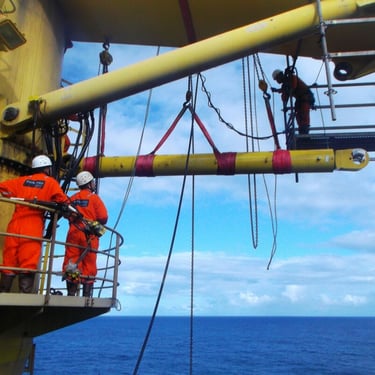
Visual Weld Inspection

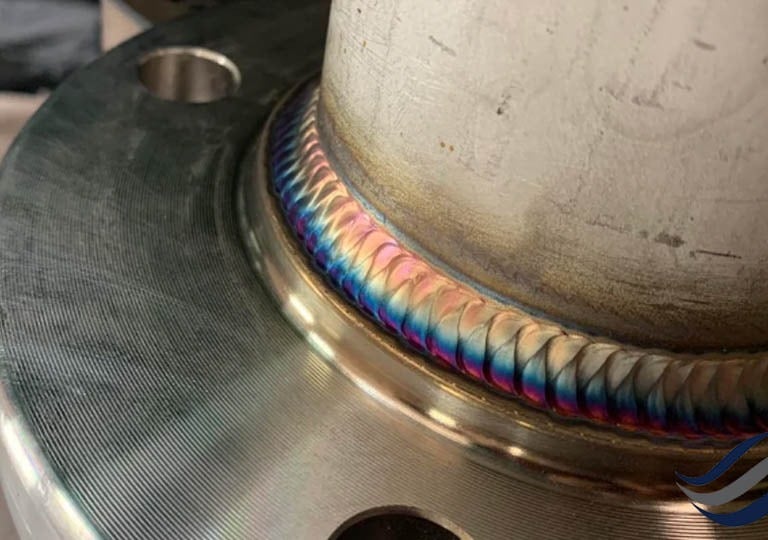
Inspeçao por Líquido Penetrante
Visual Weld Inspection (VWI) is a fundamental Non-Destructive Testing (NDT) method used to assess the quality and integrity of welded joints through direct visual examination. This inspection technique is widely employed across various industries, including construction, aerospace, automotive, manufacturing, and oil & gas, to ensure welds meet safety and performance standards.
By conducting a thorough visual inspection, professionals can identify surface defects such as cracks, porosity, undercut, incomplete fusion, lack of penetration, misalignment, weld spatter, and excessive reinforcement. Detecting these flaws early in the process helps prevent structural failures, leaks, and potential hazards, ensuring that welded components perform reliably under operational conditions.
Visual Weld Inspection is often the first step in weld quality assessment, as it provides a quick, cost-effective, and straightforward method to verify weld compliance before proceeding with more advanced testing techniques such as ultrasonic, radiographic, or magnetic particle testing. Proper lighting, magnification tools, and calibrated gauges are typically used to enhance inspection accuracy, allowing inspectors to measure weld size, shape, and discontinuities effectively.
Additionally, adherence to industry standards such as AWS (American Welding Society), ASME (American Society of Mechanical Engineers), ISO (International Organization for Standardization), and API (American Petroleum Institute) is essential to ensure that welds meet regulatory requirements. Visual weld inspectors must possess strong technical knowledge, attention to detail, and experience in interpreting welding codes and specifications to conduct accurate assessments.
In summary, Visual Weld Inspection plays a crucial role in the quality assurance process by identifying defects at an early stage, reducing the risk of costly rework, and ensuring that welded structures and components maintain safety, durability, and performance throughout their lifecycle.
Process of Visual Weld Inspection
Surface Preparation – The weld area is cleaned to remove dirt, slag, and contaminants that could obscure defects.
Lighting and Magnification – Proper lighting is used, and magnifying tools may be employed for detailed analysis.
Dimensional Verification – The weld’s size, shape, and alignment are checked against specified tolerances.
Defect Identification – The inspector looks for irregularities such as cracks, incomplete penetration, undercuts, or excessive spatter.
Documentation – Inspection results are recorded, often accompanied by photographs and reports for quality assurance.
Advantages of Visual Weld Inspection
Non-Destructive – No damage is caused to the welded component.
Cost-Effective – Requires minimal equipment and can be performed quickly.
Early Defect Detection – Identifies surface flaws before they lead to more significant issues.
Regulatory Compliance – Ensures adherence to industry welding standards (e.g., ASME, AWS, ISO).
Although Visual Weld Inspection is a fundamental method, it is often complemented by other NDT techniques such as ultrasonic, radiographic, or magnetic particle testing for a more comprehensive weld evaluation.
